


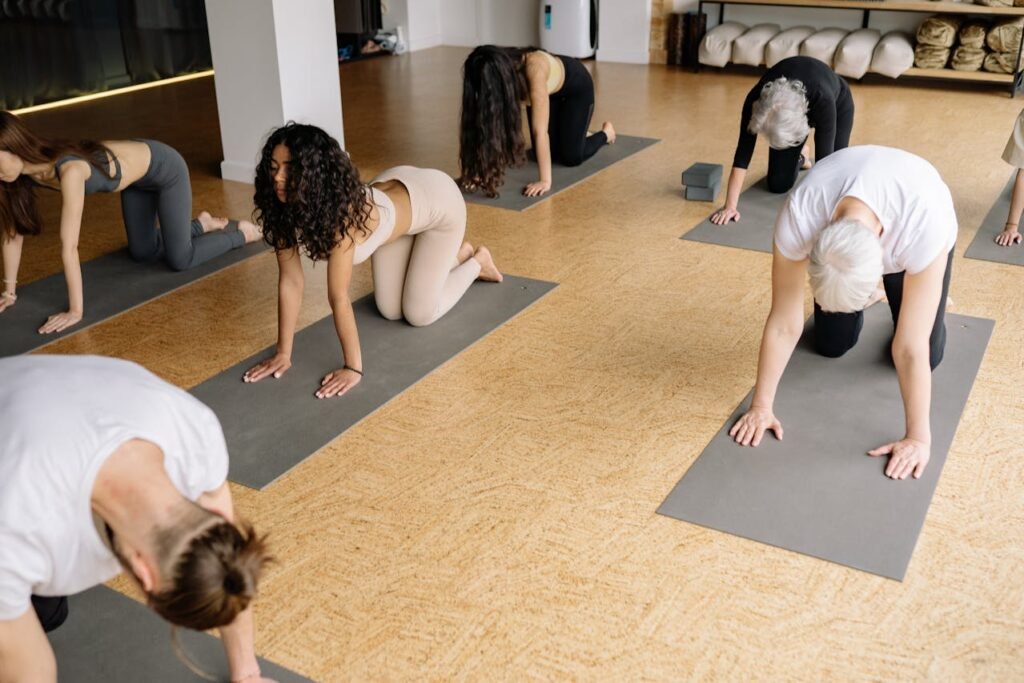
Embarking on a yoga path doesn’t require extraordinary flexibility; in fact, yoga is one of the best ways to develop it. As certified yoga teacher Felicity Wood says, “It’s not said you have to know how to play Mozart to take music classes, and the same is true with yoga: you don’t need to be flexible to start.” This comprehensive guide walks you through 10 beginner yoga poses, specifically selected to improve your flexibility and accessible to beginners.
Whether you struggle with touching your toes or are simply looking to improve your range of motion, these poses will help you gradually increase flexibility in key areas like your spine, hips, hamstrings, and shoulders. With regular practice, you’ll notice significant improvements not only in your flexibility but also in your overall well-being.
Understanding Flexibility and Yoga
Flexibility refers to the range of motion in your joints and the elasticity of your muscles. Many factors influence flexibility, including age, activity level, and genetics. The good news is that regardless of your starting point, consistent yoga practice can help you improve flexibility over time.
Yoga works by gently stretching your muscles while you focus on breathing and mindfulness, helping to release tension that might be limiting your movement. Unlike aggressive stretching, yoga’s mindful approach reduces the risk of injury while gradually increasing your body’s natural flexibility.
Benefits of improved flexibility include:
- Reduced muscle tension and soreness
- Better posture and balance
- Decreased risk of injury
- Improved athletic performance
- Enhanced blood circulation
- Greater ease in everyday movements
10 Essential Yoga Poses for Beginners
Let’s explore 10 accessible yoga poses that will help you develop flexibility throughout your entire body. For each pose, follow the step-by-step instructions and remember to breathe deeply and move mindfully.
1. Cat-Cow Pose (Bitilasana Marjaryasana)
This gentle, flowing posture improves flexibility in the spine, neck, and core while helping to develop breath awareness.
How to perform:


- Begin on all fours in a tabletop position with your wrists aligned under your shoulders and your knees under your hips.
- For Cat Pose (exhale): Curl your spine toward the ceiling, bringing your chin toward your chest.
- For Cow Pose (inhale): Arch your back, lowering your belly toward the floor as you look forward.
- Continue between these positions for 5 to 10 breaths, synchronizing the movement with your breathing.
Benefits: Increases spine mobility, stretches the back and torso, and gently massages the internal organs5.
2. Downward-Facing Dog (Adho Mukha Svanasana)
This foundational pose stretches your entire posterior chain, including hamstrings, calves, and shoulders9.
How to perform:
- Start on all fours with your knees hip-width apart.
- Press your hands firmly into the floor, fingers wide apart.
- Tuck your toes under and lift your knees off the floor.
- Lift your sitting bones toward the ceiling, forming an inverted V.
- Keep your knees slightly bent if necessary (perfect for beginners).
- Pedal, alternating between bending one knee and then the other to stretch the back of your legs.
- Hold for 5 breaths or 30 to 60 seconds.
Alignment tip: Focus on creating length in your spine rather than getting your heels to the floor. It’s perfectly fine for beginners to keep knees bent.

3. Low Lunge (Anjaneyasana)
This pose opens the hip flexors and quads while strengthening the legs and improving balance.
How to perform:
- From tabletop position, step your right foot forward between your hands.
- Keep your left knee on the floor.
- Make sure your right knee is directly above your ankle, without pushing forward.
- Raise your arms above your head, keeping them shoulder-width apart.
- Hold the pose for 5 deep breaths.
- Switch sides and repeat.
Modification: Place a folded blanket under your back knee for comfort if you feel pressure1.
4. Standing Forward Fold (Uttanasana)
This pose stretches the entire back of your body, especially your hamstrings and calves.
How to perform:
- Stand with your feet hip-width apart and your knees slightly bent.
- Hide at the hips and bend your torso forward over your thighs.
- Keep your elbows opposite each other or let your arms hang toward the floor.
- Distribute your weight evenly between both feet.
- Gently rock back and forth, alternating your weight between your toes and heels.
- Hold for 5 breaths.
Alignment tip: Keep your knees firmly bent if you have tight hamstrings: this protects your lower back while providing an effective stretch.
5. Wide-Angle Seated Forward Bend (Upavistha Konasana)
This seated pose opens the hips and inner thighs while stretching the hamstrings and lower back.
How to perform:
- Sit on your mat and spread your legs wide.
- Make sure your toes are pointing up (not out to the sides).
- Sit upright and extend your arms overhead.
- Bend at the hips and reach your hands forward, between your legs.
- Hold this position for 1 to 2 minutes, breathing deeply.
Modification: Sit on the edge of a folded blanket or block to help tilt your pelvis forward if you have tight hips.
6. Tree Pose (Vrksasana)
Although primarily a balancing pose, Tree Pose strengthens your legs while improving flexibility in your hips and groin.
How to perform:
- Stand with your weight centered.
- Shift your weight to your right leg.
- Place your left foot against your right inner thigh (or lower, for beginners).
- Clasp your hands in front of your chest or extend them above your head.
- Focus your gaze on a fixed point to maintain balance.
- Hold the pose for 5 to 10 breaths, then switch sides.
Tip for beginners: If balancing is challenging, stand near a wall for support or keep your foot lower on your standing leg.
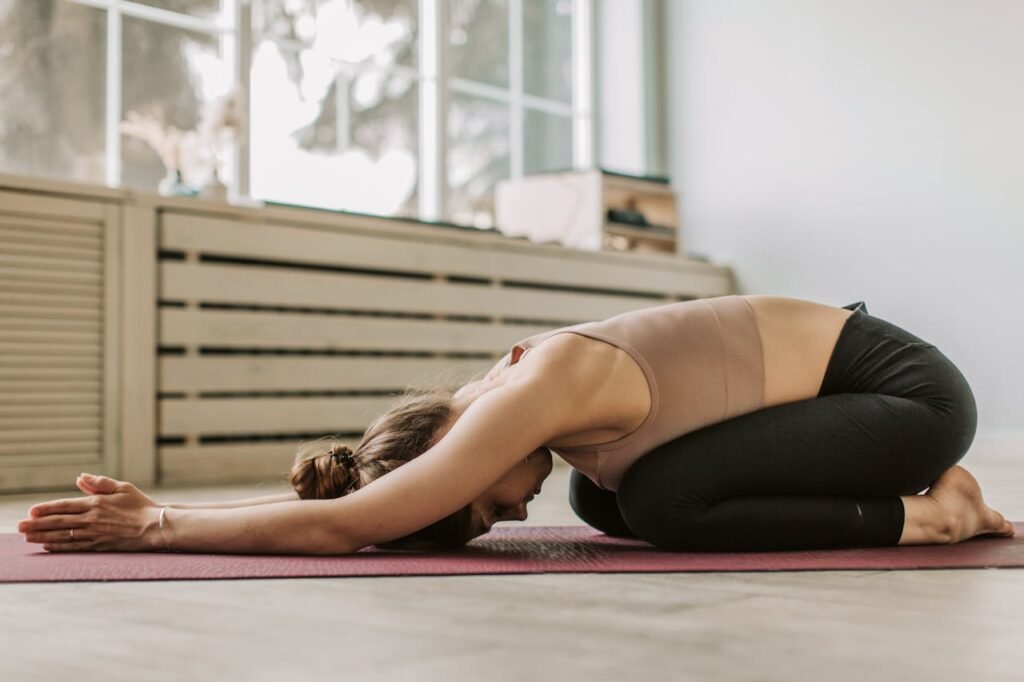
7. Child’s Pose (Balasana)
This restful pose gently stretches the back, hips, thighs, and ankles while providing relaxation.
How to perform:
- Kneel on the floor with your big toes touching and your knees wide apart.
- Sit back on your heels and lean forward, extending your arms.
- Rest your forehead on the mat.
- Breathe deeply and allow your body to relax completely.
- Hold the pose for 1 to 3 minutes.
Benefit: This pose can be used as a resting position between more challenging poses.
8. Head to Knee Pose (Janu Sirsasana)
This seated forward bend stretches the hamstrings, calves, and back while opening the hips.
How to perform:
- Sit with your right leg extended forward.
- Bend your left knee and place your left foot against your inner right thigh.
- Sit up tall and inhale as you raise your arms above your head.
- Exhale and bend at the hips to lean forward toward your extended leg.
- Keep your foot or leg extended, or place your hands on the floor.
- Hold the position for 1 to 2 minutes.
- Switch sides and repeat.
Alignment tip: Focus on folding from the hips rather than rounding the spine.
9. Bridge Pose (Setu Bandhasana)
This gentle backbend stretches the front of the body while strengthening the back, glutes, and hamstrings.
How to perform:
- Lie on your back with your knees bent and feet hip-width apart.
- Place your feet close to your glutes and your arms at your sides.
- Press your feet and arms into the floor as you lift your hips toward the ceiling.
- Keep your shoulders flat on the floor and squeeze your shoulder blades together.
- Hold for 5 breaths.
- Slowly lower your spine back to the mat.
Modification: Place a block under your sacrum for a supported version that allows for longer holds.
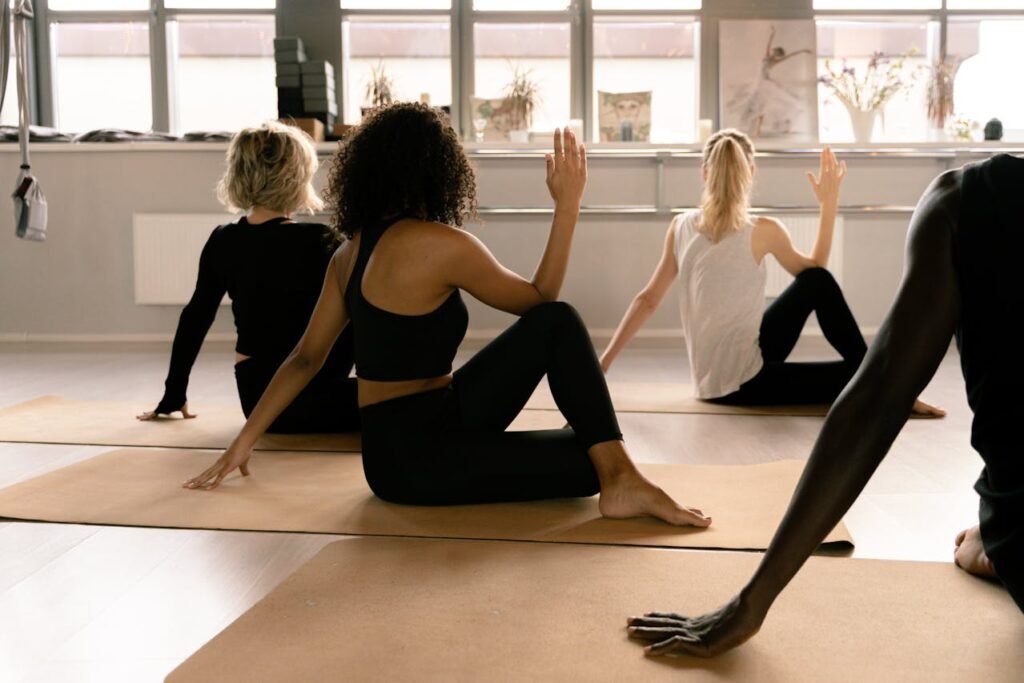
10. Seated Spinal Twist (Ardha Matsyendrasana)
This twisting pose increases spine mobility while stretching the shoulders, hips, and neck10.
How to perform:
- Sit on the floor with your legs extended.
- Bend your right knee and place your right foot outside your left thigh.
- Bend your left knee and bring your left foot close to your right hip (or keep it extended).
- Place your right hand behind you for support.
- Hook your left elbow outside your right knee.
- Inhale to lengthen your spine and exhale to twist deeper.
- Hold the pose for 5 to 10 breaths, then switch sides.
Benefit: Twists help improve digestion and detoxification while increasing spinal flexibility.
Comparing Poses by Body Region
The following table shows which areas of the body each pose primarily targets for flexibility:
| Pose | Spine | Hips/Legs | Shoulders | Core | Difficulty Level |
|---|---|---|---|---|---|
| Cat-Cow | ✓✓✓ | ✓ | ✓✓ | ✓✓ | Very Easy |
| Downward Dog | ✓✓ | ✓✓✓ | ✓✓✓ | ✓ | Easy-Moderate |
| Low Lunge | ✓ | ✓✓✓ | ✓ | ✓ | Easy |
| Standing Forward Fold | ✓✓ | ✓✓✓ | ✓ | – | Easy |
| Wide-Angle Forward Bend | ✓ | ✓✓✓ | – | – | Easy-Moderate |
| Tree Pose | – | ✓✓ | – | ✓ | Moderate |
| Child’s Pose | ✓✓ | ✓✓ | ✓ | – | Very Easy |
| Head to Knee | ✓ | ✓✓✓ | – | – | Easy |
| Bridge Pose | ✓✓✓ | ✓✓ | ✓ | ✓✓ | Easy |
| Seated Spinal Twist | ✓✓✓ | ✓✓ | ✓ | ✓ | Easy |
Creating a Simple Flexibility Routine
To maximize benefits, try combining these poses into a simple 15-20 minute sequence:
- Start with Cat-Cow Pose (5-10 breaths) to warm up your spine.
- Move into Downward-Facing Dog (5 breaths).
- Step forward into a low lunge (5 breaths per side).
- Return to Downward-Facing Dog and then walk into a standing forward bend (5 breaths).
- Sit down for a wide-angle forward bend (8-10 breaths).
- Practice Tree Pose for balance (5 breaths per side).
- Rest in Child’s Pose (10 breaths).
- Try Head-to-Knee Pose (8 breaths per side).
- Reenergize with Bridge Pose (5 breaths).
- Finish with a seated spinal twist (5 breaths per side).
Tips for Improving Flexibility Through Yoga
For best results:
- Practice consistently (3-5 times per week)
- Hold the poses for at least 5 deep breaths
- Focus on your breathing during stretches
- Never push yourself to the point of pain
- Use props like blocks and straps when necessary
- Practice after a warm shower or bath, when your muscles are warm
- Be patient: flexibility develops gradually
Frequently Asked Questions
How long does it take to improve flexibility with yoga?
Most people notice mild improvements between 2 and 4 weeks of regular practice (more than 3 times per week). The most significant changes usually occur after 8 to 12 weeks of consistent practice. Remember that every body responds differently; consistency is more important than intensity.
Do I need any special equipment to start practicing yoga?
A yoga mat provides cushioning and traction, but you can start simply with a non-slip surface and comfortable clothing. As you progress, props such as blocks, straps, and bolsters can help modify poses, but they are not essential for beginners.
Can I practice yoga if I have an injury?
Always consult your healthcare professional before beginning any exercise program if you have an injury. Many yoga poses can be modified to accommodate limitations, but it is important to have proper guidance to prevent an injury from worsening.
How often should I practice yoga to improve flexibility?
For noticeable improvement, aim to practice 3 to 5 times a week, even if your sessions are short (10-20 minutes). Consistency is more important than long sessions.
Is it normal to feel sore after yoga?
Mild muscle soreness is normal when you first start practicing yoga or trying new poses. However, sharp pain during or after practice indicates you should reduce the intensity or modify the pose. The sensation during stretches should be gentle tension, never pain.
Should I stretch when my muscles are cold?
It is always recommended to warm up before deeper stretches. Start with gentle movements like Cat-Cow or Sun Salutation before trying more intense flexibility poses.
What if I can’t touch my toes?
Not being able to touch my toes is completely normal and doesn’t mean you “can’t do yoga.” Use props like blocks to “pull the floor toward you” or bend your knees generously forward. With regular practice, your flexibility will gradually improve.
Conclusion
Yoga offers a gentle yet effective path to improving flexibility, no matter your starting point. The 10 poses described in this guide provide a foundation for beginners to safely improve flexibility throughout the entire body, while enjoying the many additional benefits that yoga brings to physical and mental well-being.
Remember that flexibility is a journey, not a destination. Focus on how your body feels, not how a pose looks. With consistent practice and patient attention to proper alignment, you will gradually experience greater ease and range of movement in your daily life.
As you continue your yoga practice, respect your body’s unique needs and limitations. The true measure of progress is not touching your toes, but developing greater awareness of your body and your breath. Start where you are, use what you have, and do what you can; the rest will come naturally.